(last updated July 2021)
Learn Mores, Pop Ups, Audio, and Video Additions to Your A2J Guided Interviews
There are three features that allow authors to deliver just in time help to the end-user during a Guided Interview. They are: “Learn Mores”, Hyperlinks, and Pop-Ups.
“Learn More” Feature
The Learn More feature works well for answering questions or addressing issues that are better left out of the actual question text. It allows authors to anticipate the difficulties an end-user may experience in completing the question and provide them additional relevant information. The Learn More feature inserts a prompt to appear as a thought bubble to the right of the User’s Avatar. When the end-user presses the Learn More button associated with the bubble, the Avatar Guide displays a response using one of the three following Question Help methods chosen by the author of the interview: Text, Video, and/or Graphic
Question Help Text: For an example of how a Learn More prompt with Question Help text might be used, see the figures below.
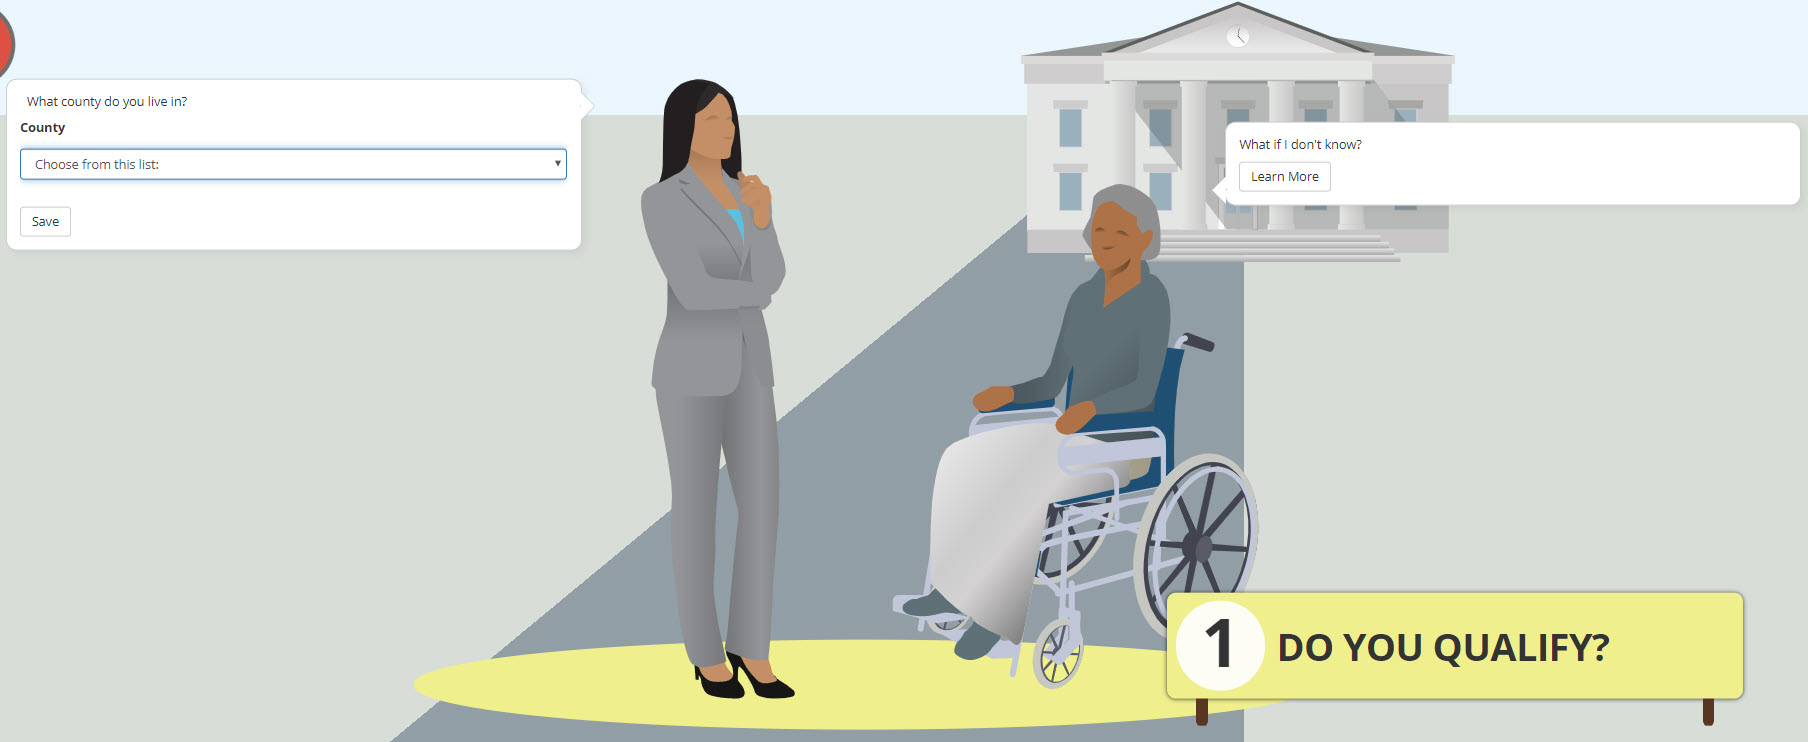
Figure: Learn More prompt pictured as a thought bubble.
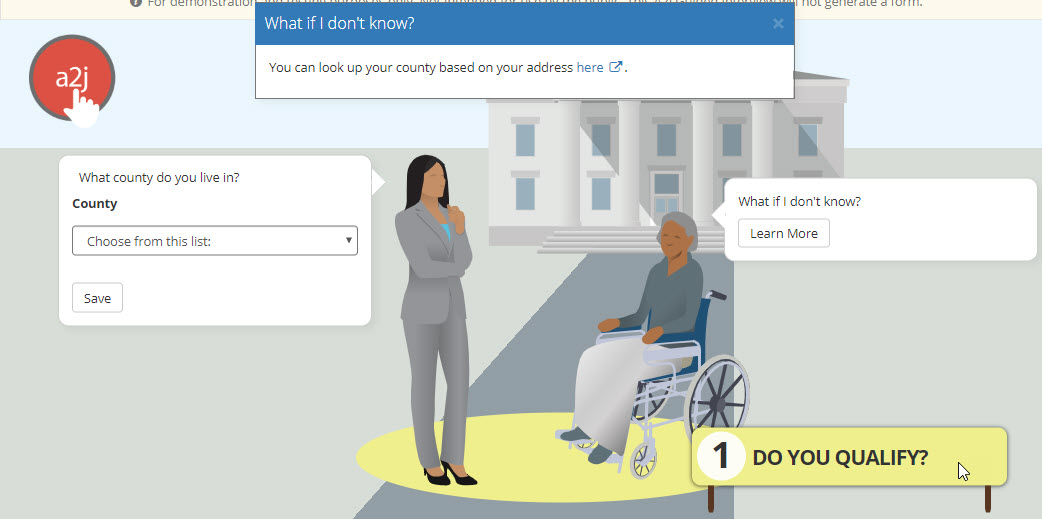
Figure: Learn More response
The Learn More prompt is typed under the Learn More Info section, in the space labeled “Prompt:” which appears below the Question Text section; and the response of the Avatar Guide is typed into the field labeled “Response” (Figure below). Text can be bolded, italicized, underlined, block quoted, indented, outdented, have bulleted or number lists, and include hyperlinks or popups as well. The editing toolbar appears when the author clicks into the “Response” text box. (Figure below). You can also add audio to the Response. To do so, add a .mp3 file to the Audio field below the Response field.
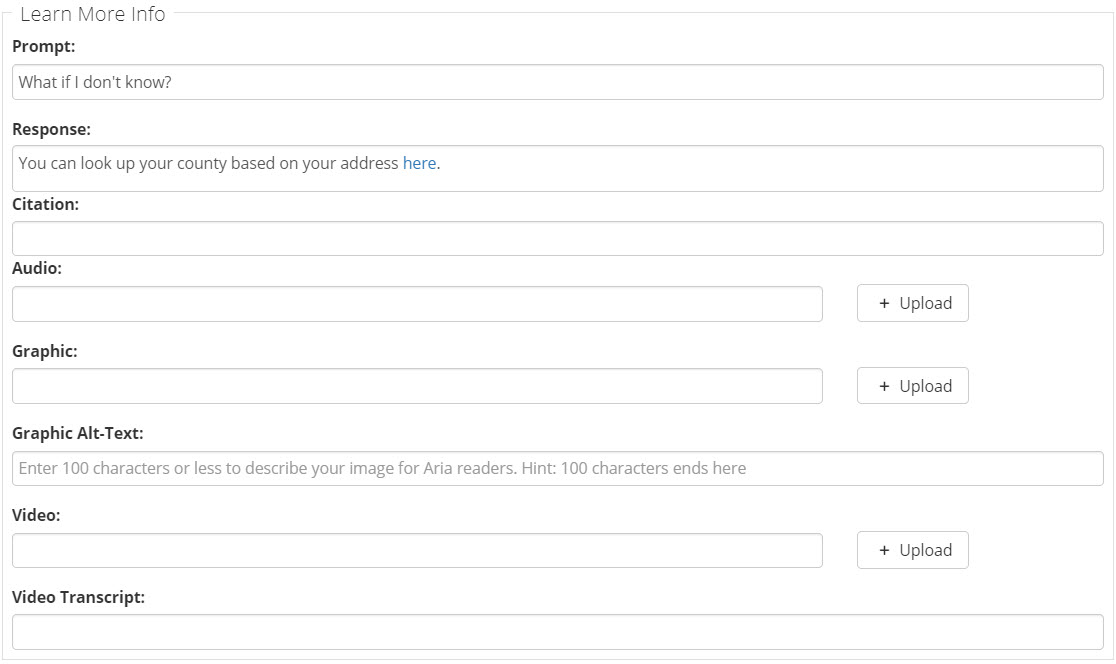
Figure: Learn More prompt and response fields. Also shown: additional Learn More options

Figure: Learn More response editing toolbar.
Learn More Graphic
A2J Author allows authors to add graphics to the Learn More Response. To include a graphic in the response section, add a file to the Graphic field shown below. You can also, and should also, add a 100 character maximum description of the graphic for users using a screen reader.

Figure: Graphic fields in the Learn More Info section
Please note that one of the following graphic file types must be used in order for the Graphic feature to work: .jpg, .png, or .gif.

Figure: One way to use a ShowMe Graphic is to illustrate where a form should be signed.
While A2J Author® does not place a file size restriction on images or videos, there may be upload limits on the server where you are hosting your A2J Guided Interview. Check with your host organization for any file size restrictions. Thus, authors may wish to reduce the file size of the graphics where possible. To reduce the size of a graphic, first crop the image in order to remove any unnecessary portions of the image. In addition, a number of free online resizing programs are available for reducing the size of images.
Note: Reducing an image’s file size also reduces quality. Thus, it simply may not be possible to reduce the size of some images. Authors should test any reduced image in A2J Author®’s Preview Mode before deciding to use it in the A2J Guided Interview.
Learn More Videos
To include a Video in the Learn More Response, add the video to the video field using the upload button.

Figure : Learn More Video options
In addition to the video, authors may also (and should also) include a video transcript for accessibility purposes.
The figures below demonstrate how authors might use the video feature. The video will be included in the Learn More Response.
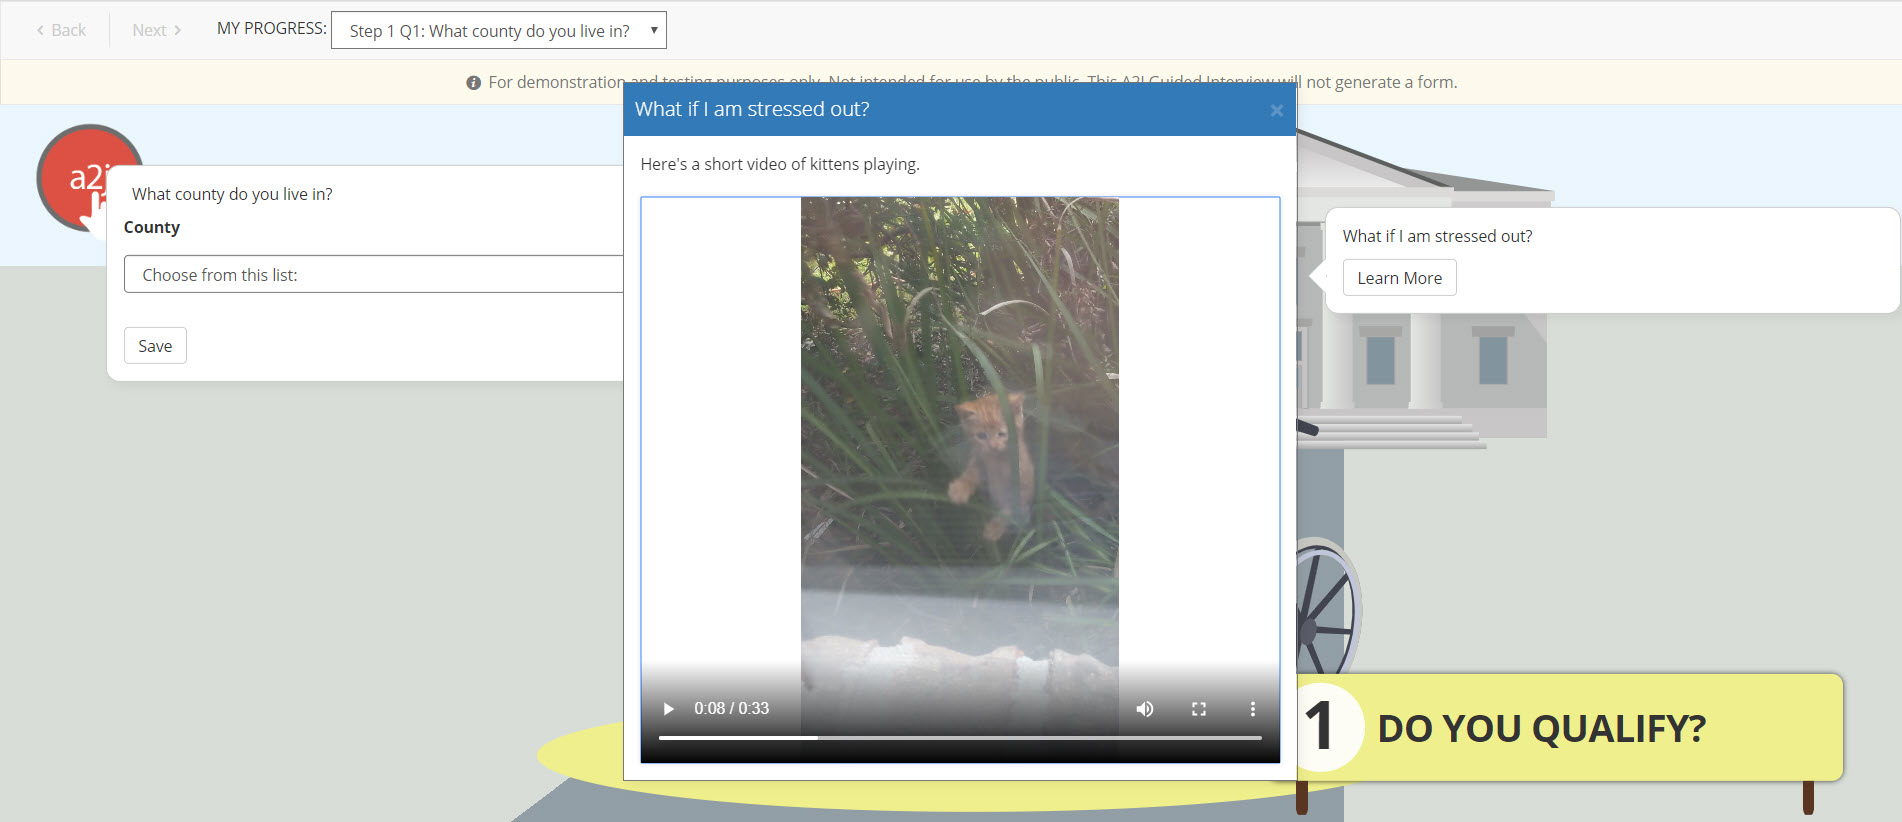
Figure: Video Panel and controls in the Learn More Response
End-users are given the option of enlarging the video by selecting the full screen icon as shown here. 
The video opens in the full computer screen if the option is selected. To reduce the video size, they can select the option “Exit Full Screen” provided by their browser or select the shrink screen icon shown here  .
.
In addition to the Full Screen/Normal Size option, the Learn More video includes a pause/play button, the ability to rewind or fast forward by dragging the video control bar, and a mute button.
Hyperlinks
Hyperlinks can be used to link a word or phrase in a Question or Learn More prompt to navigate an end-user to external content that is accessible through a normal web browser. A Hyperlink is created by first selecting the text to be hyperlinked. Then, the hyperlink format button is selected, followed by entering a URL (web address) in the pop up that appears near the top of the page (Figure 69 and Figure 70).
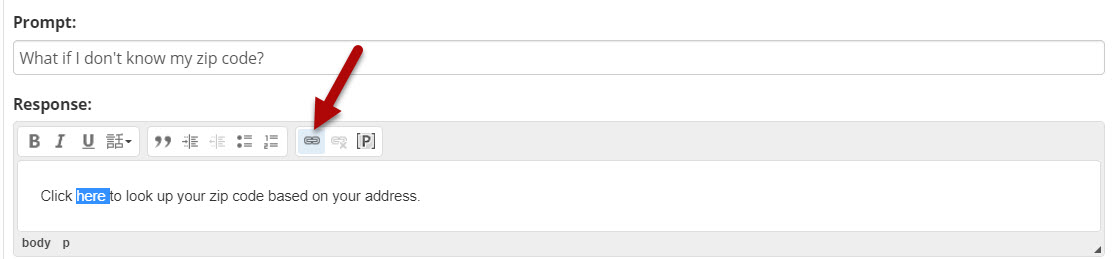
Figure: Highlight text to be hyperlinked and select the Hyperlink format button.
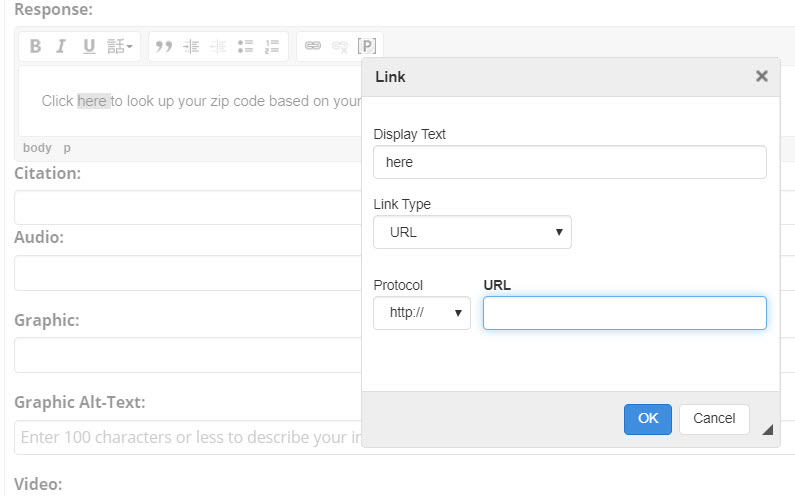
Figure: Enter the URL (web address) in the website address field.
The result is that the end-user will be directed to the defined URL when they click on the hyperlink (figure below). All the end-user must do to return to the Guided Interview is close the browser of the external website.
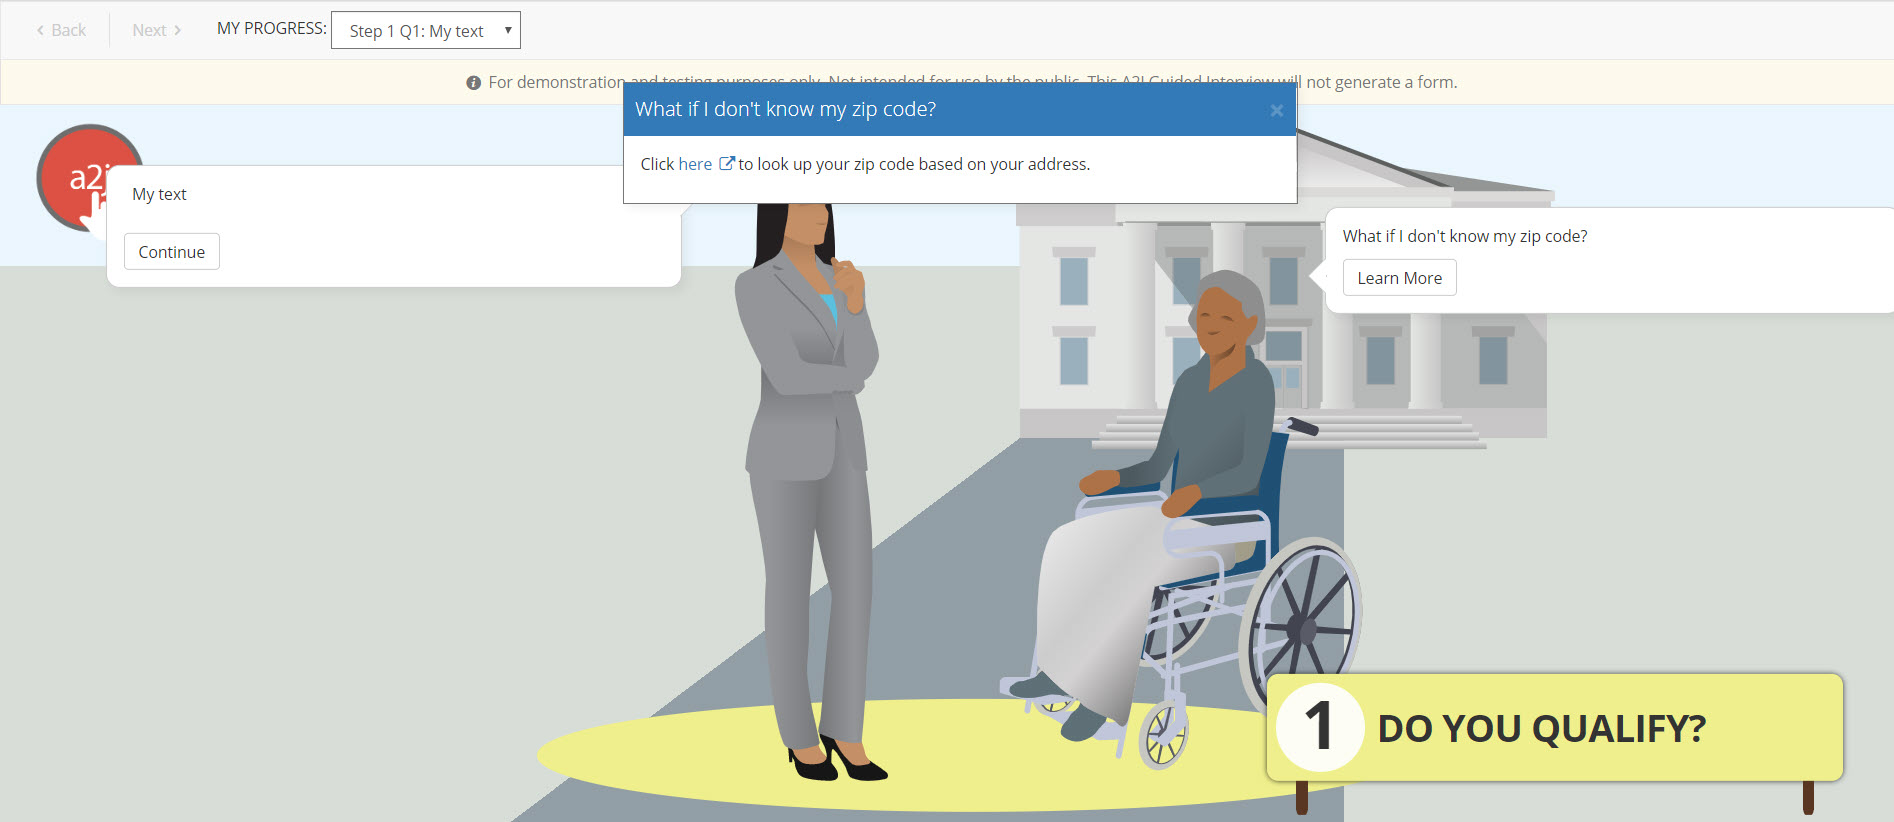
Figure: Example of a Hyperlink in a Learn More Response.
Pop-Up text
The Pop-up text feature allows for a dialog of help text to be displayed when the end-user clicks on an underlined phrase. Thus, the Pop-up feature works in a similar fashion as the Hyperlink. Pop-up links appear as an underlined word or phrase.
To associate text in a Question, or text in a Learn More Help, with a Pop-up feature, first create the Pop-up. This is done on the Pages tab. At the top of the screen, click the “New Pop-up” button (shown below). A list of all the created Pop-ups is at the bottom of the Pages Tab.
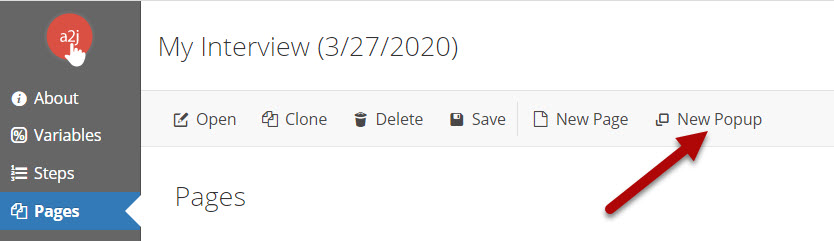
Figure: New Popup button on Pages Tab.
To edit the new Pop-Up, double click on it. This will open the Pop-Up Design Window. Here the author can type the text that the end-user will see when they click on the phrase selected in the next step. Authors can also change the name of the Pop-up, add notes about this Pop-up, and audio clips to the Pop-up (figure below).
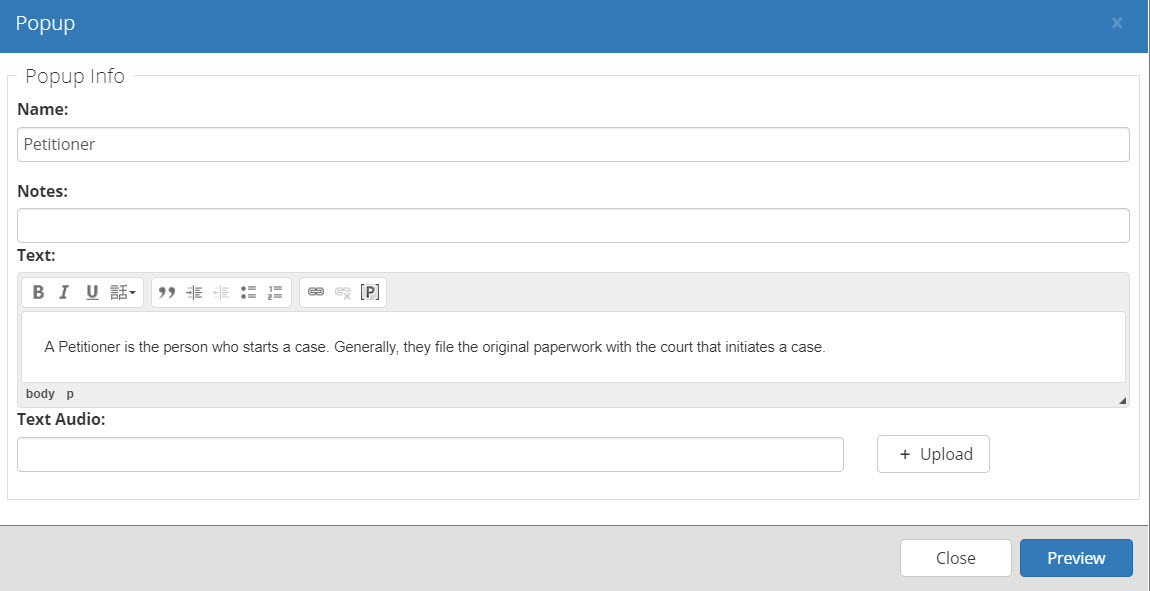
Figure: Pop-Up Design Window
To add a pop up to the text of a question or a Learn More, highlight the word or phrase you'd like the pop up to cover. Then click the [p] icon within the text editor. A list of available pop ups will appear. Select the one you want to choose and click "Change". Close the dialog box. Your pop up will now appear as blue underlined text in your question or Learn More. See gif below.

Note, that the text in the Pop-up can also be formatted to include bolded, italicized, underlined, have block quotes, hyperlinked words or phrases, it can be indented or outdented, and can included bulleted or numbered lists. You can even have a pop up within a pop up. The figure below shows an example of what a Pop-up would look like to the end user.
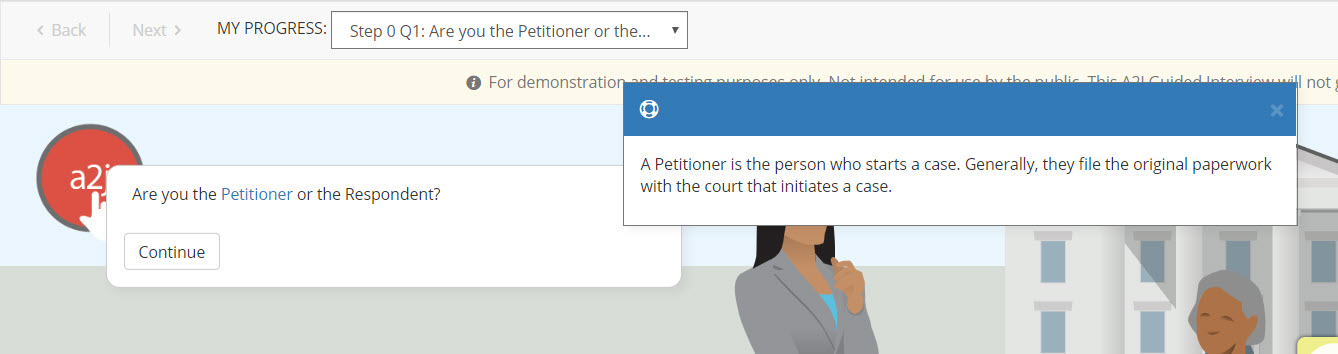
Figure: How a Pop-up looks to the end user.
Adding Audio
Within each Question, Learn More, and Pop-up the author can add audio to enhance the A2J Guided Interview for their end users. Notice an Audio field and an Upload button in each of the text editing locations for the above types of text (figure below). By clicking the Upload button, authors can browse the computer’s file folders to search for the desired audio (.mp3) file. Double-clicking on the desired file will attach the audio (.mp3) file to the designated Audio field.
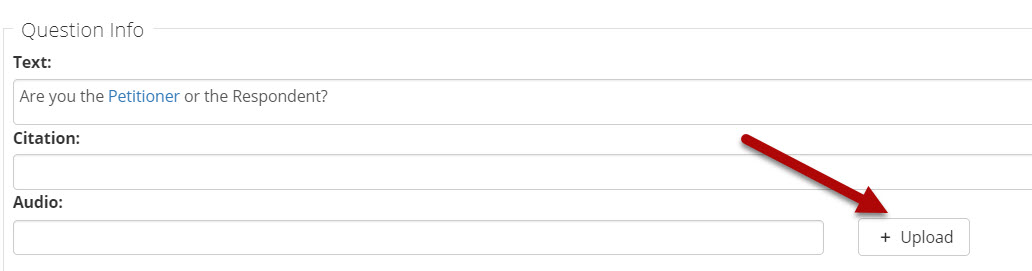
Figure: Click the Upload button near any Audio field to attach an audio (.mp3) file for the associated text.
The end-user will have the option to start and stop the audio. The end-user may also pause and rewind or fastforward the audio as well as adjust the volume from the audio control box (figure below).
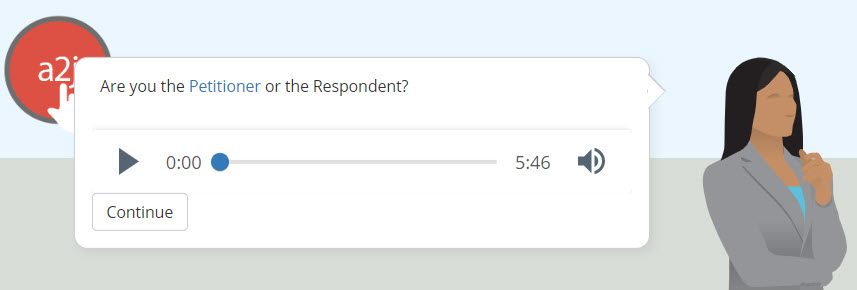
Figure: Audio control box presented to the end user under the question.